
A handmade crochet rainbow blanket is a beautiful, cheerful project that brings warmth, color, and comfort to any nursery. Perfect for beginners and experienced makers alike, this pattern features a soothing, rhythmic stripe design using a soft pastel rainbow palette. When completed, this lightweight yet cozy blanket makes a thoughtful baby shower gift or a treasured keepsake.
Using simple stitches and a series of gentle color transitions, this guide will take you through crocheting, changing colors, and adding a plush border, all with clear, step-by-step instructions and absolutely no complex tables.
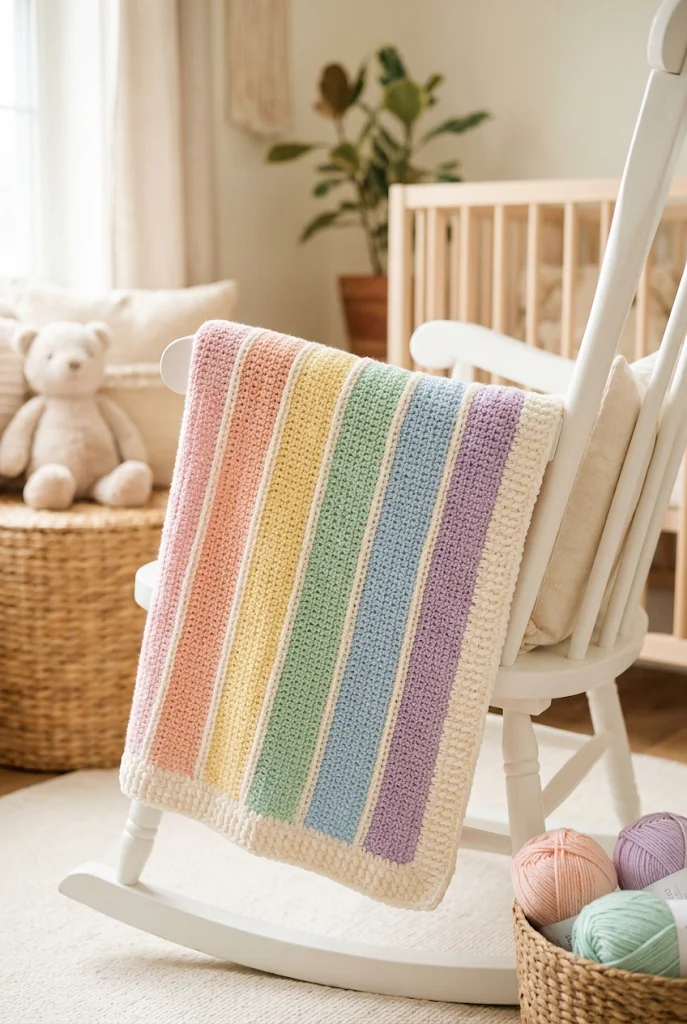
Hero Preview
🧑🎨 A beautiful, hand-crocheted pastel rainbow blanket draped over a nursery chair:
1. Project Overview
All measurements and times are approximate:
- Skill level: Beginner to Easy
- Completion time: 8 to 14 hours (highly dependent on the individual’s speed)
- Finished size: Approximately 30 × 36 inches (76 × 91 cm), ideal for cribs, strollers, or tummy time
- Construction: Worked back and forth in flat rows, turning at the end of each row, and finished with a multi-round border crocheted continuously around the entire perimeter
- Main stitches: Chain, single crochet, and double crochet (combining into a highly textured “gritty” stitch or a simple row pattern)
- Suggested uses: Nursery crib blanket, stroller cover, baby shower gift, toddler security blanket, and photography backdrop
The final size can be easily adjusted by increasing or decreasing your foundation chain and total rows.
2. Materials and Supplies
- Yarn: Soft, baby-friendly medium worsted weight yarn (Category 4) or lightweight DK (Category 3). Acrylic or cotton blends are best for regular washing. For our pastel colorway, try:
- Border / Stripe Divider: Off-White or Cream (approx. 200 g)
- Pastel Pink / Rose: (approx. 50 g)
- Pastel Peach / Coral: (approx. 50 g)
- Pastel Yellow / Cream: (approx. 50 g)
- Pastel Green / Mint: (approx. 50 g)
- Pastel Blue / Sky: (approx. 50 g)
- Pastel Purple / Lavender: (approx. 50 g)
- Crochet hook: 4.5 mm (US 7) or 5.0 mm (US H/8) depending on your tension and preferred draping
- Tapestry needle: Blunt-ended needle for weaving in the numerous color-change tails
- Scissors: Small craft snips
- Measuring tape: To check sizing and stitch consistency as you progress
- Stitch markers: Helpful to mark the start and end of rows to keep the blanket’s sides perfectly straight
3. US Crochet Abbreviations & Stitch Meanings
- ch: Chain stitch
- sl st: Slip stitch
- sc: Single crochet
- dc: Double crochet
- st(s): Stitch or stitches
- sk: Skip
- ch-sp: Chain space
- FO: Fasten off
Special Stitch: The Sand / Gritty Stitch
For this pattern, we will utilize the “Sand Stitch” (also known as the Grit or Seed Stitch) which alternates [1 sc, 1 dc] in the same space, followed by a skip stitch. It creates a beautiful, dense, and bouncy fabric that has no large holes for tiny baby fingers to get caught in, while still keeping the blanket incredibly soft and flexible.
4. Skills to Know Before Starting
- Flat Row Work: Always chain and turn your work at the end of every row. Focus on making the first and last stitches consistent so your blanket doesn’t skew.
- Flawless Color Changes: To transition colors smoothly, perform the final yarn-over of the last stitch in a row with the new color, then chain and turn with that new strand.
- Weaving in Ends As You Go: To save hours of needlework at the end, lay your color tails flat along the top of the previously finished stitches and crochet directly over them for several inches to capture and secure them.
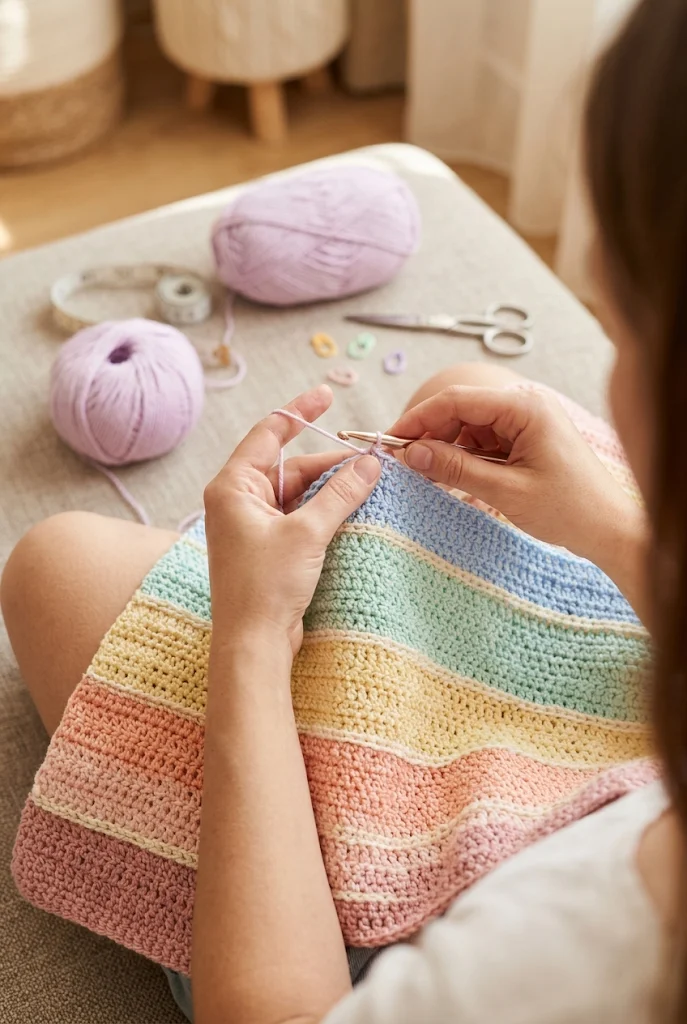
In-Progress Crafting
🧶 The cozy experience of crocheting the colorful rainbow stripes:
5. Understanding the Blanket Construction
This blanket features a stunning repeating pastel sequence broken by natural off-white spacers:
- Base Structure: Foundation chain that establishes a ~28-inch (71 cm) width.
- Repeat Pattern (92 rows total):
- Starts with off-white to ground the border, then progresses through the six pastel colors (pink, peach, yellow, green, blue, purple) with off-white separator bands.
- Generous off-white is used at the top to mirror the bottom, achieving an aesthetically pleasing symmetry.
- Completing Border: Built by working around all 4 raw edges with multiple rounds of single crochet, creating an even, finished frame.
6. Sizing and Calibration
To adjust the blanket to another standard size, make the following row and chain changes:
- Default stroller/crib blanket (approx. 30 × 36 inches): Chain 110. Work the complete 92-row count.
- Smaller security/car seat blankie (approx. 20 × 20 inches): Chain 74. Reduce each color block from 6 rows to 4 rows, and only work the color sequence once.
- Standard baby crib/toddler blanket (approx. 36 × 44 inches): Chain 134. Work each color block to 8 rows, or repeat the entire sequence 1.5 times.
Tip: Keep your count an even number of chains plus 1 for the sand stitch foundation to retain its wavy, compact texture.
7. Step-by-Step Crochet Pattern
Part A: Foundation and Round 1 (Cream / Border Yarn)
- Base Chain: Ch 111 (or any odd number matching your desired width).
- Row 1: In 2nd ch from hook, work
[1 sc, 1 dc]. Skip the next chain. - Repeat
[1 sc, 1 dc in next st, skip next st]across to the last two chains. - Skip 1, and work a single
scin the final chain. (110 sts). Ch 1, turn. - Row 2: In first st, work
[1 sc, 1 dc]. Skip next st. - Repeat across to the last 2 sts. Skip 1, sc in the last st.
- Fasten off Cream. Ch 1, turn.
Part B: Pastel Pink Stripe (Pastel Pink Yarn)
- Row 3: Join Pastel Pink into the first st. Ch 1, work
[1 sc, 1 dc]in first st, skip next st. - Repeat
[1 sc, 1 dc, skip 1]across, finish with 1 sc in the last st. Ch 1, turn. - Rows 4–8 (5 rows): Repeat Row 2 in Pink. On the final YO of the last sc of Row 8, pull through with Cream. Ch 1, turn.
Part C: Spacer Stripe (Cream Yarn)
- Row 9: Ch 1, work
[1 sc, 1 dc]in first st, skip next st. Repeat across, with 1 sc in final st. Ch 1, turn. - Row 10: Repeat the stitch pattern once more in Cream. On the final stitch, pull through with Pastel Peach. Ch 1, turn.
Part D: The Full Rainbow Stripe Sequence
- Continue the sand stitch repeat while swapping colors on the final st of each block:
- Rows 11–16 (6 rows): Pastel Peach (orange)
- Rows 17–18 (2 rows): Cream spacer
- Rows 19–24 (6 rows): Pastel Yellow
- Rows 25–26 (2 rows): Cream spacer
- Rows 27–32 (6 rows): Pastel Green / Mint
- Rows 33–34 (2 rows): Cream spacer
- Rows 35–40 (6 rows): Pastel Blue
- Rows 41–42 (2 rows): Cream spacer
- Rows 43–48 (6 rows): Pastel Purple / Lavender
- Rows 49–50 (2 rows): Cream spacer
- To repeat the rainbow, work back from the bottom of the spectrum:
- Rows 51–56 (6 rows): Pastel Blue
- Rows 57–58 (2 rows): Cream spacer
- Rows 59–64 (6 rows): Pastel Green / Mint
- Rows 65–66 (2 rows): Cream spacer
- Rows 67–72 (6 rows): Pastel Yellow
- Rows 73–74 (2 rows): Cream spacer
- Rows 75–80 (6 rows): Pastel Peach
- Rows 81–82 (2 rows): Cream spacer
- Rows 83–88 (6 rows): Pastel Pink
- Rows 89–90 (2 rows): Cream spacer
- Rows 91–92: Cream only. Fasten off with an 8-inch tail.
Part E: Completing Border and Edging (Cream Yarn)
- Join Cream in any corner with a sl st. Ch 1.
- Round 1: Work sc evenly down the side (placing 1 sc per row edge), 3 sc in the corner, 1 sc in each st along the bottom edge, 3 sc in the corner, 1 sc per row edge up the opposite side, and 1 sc in each st across the top, finishing with 3 sc in the last corner. Sl st to join. Ch 1.
- Round 2: Work
[1 sc, 1 dc]in every other st all the way around, placing 5 stitches in each corner to allow the frame to lay perfectly flat. - Round 3: Repeat Round 2 to expand the plush, textured border.
- Sl st to join, FO, and hide the tails with your tapestry needle on the back.
8. Sizing and Construction Specifications
- Blanket dimensions: 30 × 36 inches (approx 76 × 91 cm), depending on stitch tension and yarn weight.
- Row repeat pattern: Total of 92 rows (alternating 6-row pastel stripes with 2-row cream borders).
- Stitch count: 110 stitches across each row.
- Border dimensions: Multi-round cream border extending ~1.5 inches around the perimeter.
9. Color Ideas and Stripe Variations
- Soft Sunset Rainbow: Swap green and blue for pastel yellow, coral, peach, lavender, and pink.
- Modern Earth Pastel: Replace sky blue and purple with warm sage green, dusty rose, peach, and soft mustard yellow.
- Sweet Baby Boy: Use baby blue, sage green, and light yellow separated by cream, and omit the pink and purple.
- Bright Rainbow: Choose vibrant, rich rainbow tones rather than pastels, using navy blue or charcoal gray as the spacer stripes for a bolder contrast.
10. Assembly and Finishing Touches
- Blocking the Blanket: Light blocking will help shape the corners and let the stripes lay completely flat. Lay the blanket flat on blocking mats, pin it to square, and lightly steam (avoid pressing directly) or spray with cool water. Let dry completely.
- Double-checking the Edges: Check that all corners are square and the borders are even, and add a decorative stitch to the edge, such as a shell or crab stitch, for a customized look.
- Double-check tails: Trim woven tails only after you have verified that they are secured and will not slip out during a wash cycle.
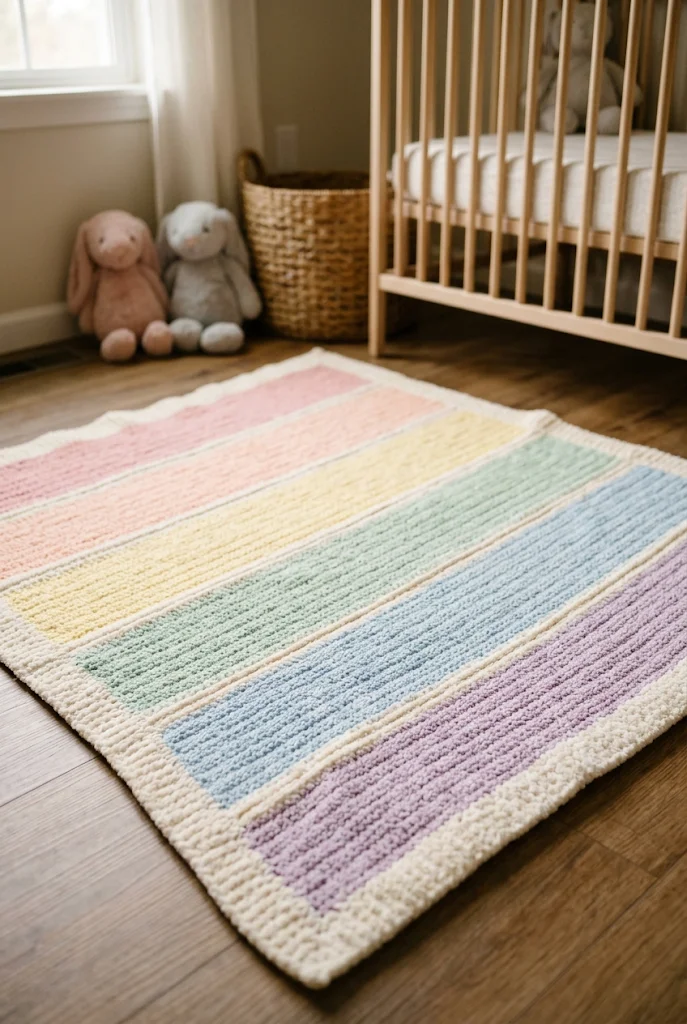
Finished Keepsake Display
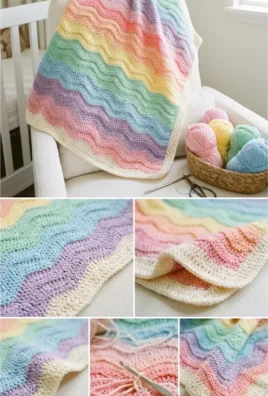
🧑🎨 The beautifully completed pastel rainbow blanket, soft and cozy for a baby:
Leave a Comment