
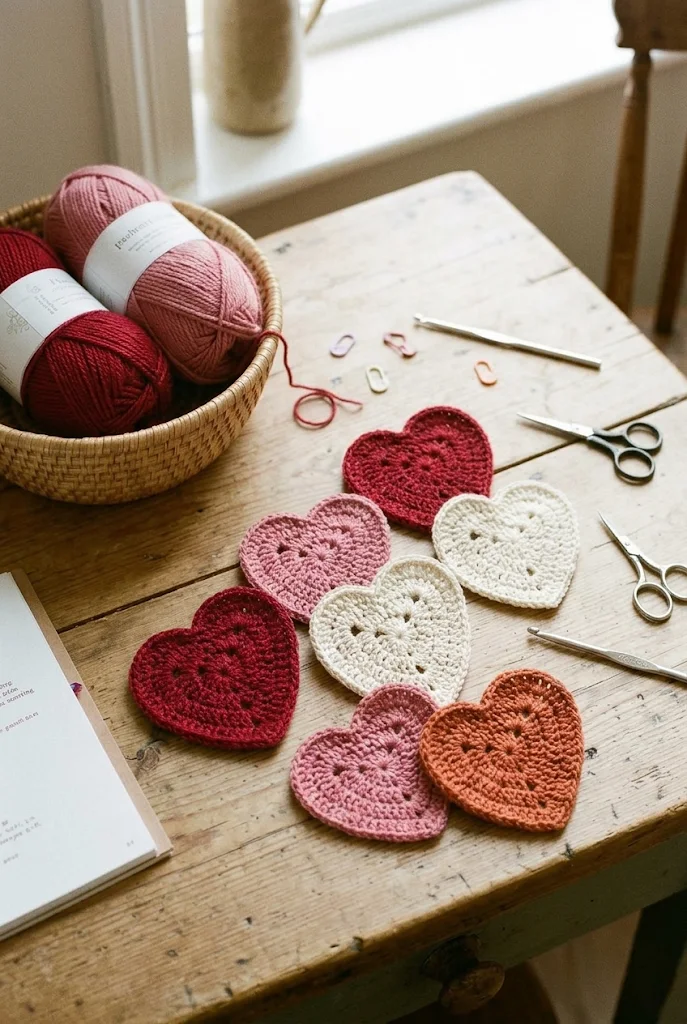
A handmade crochet heart motif is one of the most versatile, charming, and rewarding small projects in yarn craft. Featuring a radiating center, elegant diagonal eyelets, smoothly contoured top lobes, and a tapered pointed base, this classic design works wonders as a rustic mug rug, garland bunting, bag appliqué, or heartfelt handmade gift.
Worked in a romantic, earthy palette of deep burgundy, dusty rose, warm terracotta, and antique cream, these hearts lie completely flat and retain their shape beautifully. This comprehensive, step-by-step pattern will guide you through every round, stitch count, and shaping technique with complete clarity and no tables.
Hero Preview
A collection of handmade crochet heart motifs in warm earthy tones arranged on a rustic wooden craft table:
1. Project Overview
All measurements and times are approximate:
- Skill level: Easy to Advanced Beginner
- Completion time: 20 to 30 minutes per heart motif
- Finished size: Approximately 5 inches wide at the widest point and 4.75 inches tall from tip to dip
- Construction: Worked in flat rounds starting from a central loop, combining taller treble crochets to form the rounded upper lobes and gradual decreases to form the lower pointed tip
- Main stitches: Magic ring, chain, slip stitch, single crochet, half double crochet, double crochet, and treble crochet
- Suggested uses: Beverage coasters, tea mats, Valentine’s Day bunting garlands, blanket appliqués, jacket patches, and gift wrap embellishments
Finished dimensions can be modified easily by switching hook sizes or choosing thinner or thicker yarn.
2. Materials and Supplies
- Yarn: Medium worsted weight yarn (Category 4) in smooth cotton, cotton-blend, or crisp acrylic:
- Color Options: Deep Burgundy Red, Dusty Rose Pink, Terracotta / Rust, and Cream / Off-White (approx. 20 to 25 g per heart motif)
- Tip: Cotton or cotton-linen yarn is strongly recommended if using these motifs as beverage coasters, as it absorbs condensation and holds up to warm mugs without melting.
- Crochet hook: 4.0 mm (US G/6) or 4.25 mm (US G+) to produce dense, flat stitches with excellent stitch definition
- Tapestry needle: Blunt-ended yarn needle for weaving tails cleanly along the wrong side
- Scissors: Sharp craft or embroidery snips for trimming yarn tails
- Stitch markers: Helpful for marking the central top indentation and the bottom corner point
- Blocking board & rust-proof T-pins: Essential for pinning out the bottom point and opening up the eyelet spaces
3. US Crochet Abbreviations & Stitch Meanings
- ch: Chain stitch
- sl st: Slip stitch
- sc: Single crochet
- hdc: Half double crochet
- dc: Double crochet
- tr: Treble crochet (yarn over twice, insert hook, pull up loop, work off loops 2 at a time)
- st(s): Stitch or stitches
- sp: Space
- ch-sp: Chain space
- MR: Magic ring
- FO: Fasten off
Special Technique: Stitch Height Gradient for Smooth Lobes
The round curves of the heart lobes are shaped using a gradient of stitch heights: stepping up from single crochet to half double crochet, then double crochet, and finally double-treble/treble crochet clusters. Stepping back down in reverse order creates a smooth, continuous arched perimeter without jagged steps.
4. Skills to Know Before Starting
- Adjustable Magic Ring: The foundation of the motif; must be pulled tight and knotted securely so the center eyelet remains stable.
- Working in the Round with Asymmetrical Shaping: Unlike round mandalas or square motifs, heart motifs use varying stitch heights across opposite sides to create symmetry across the central vertical axis.
- Forming the Bottom Point: Working
[1 dc, ch 2, 1 dc]or[1 tr, ch 1, 1 tr]into the bottom-most stitch defines a crisp downward point. - Clean Slip Stitch Indentation: Dropping a slip stitch deep into the central starting ring on the final round creates the defined “cleavage” dip at the top of the heart.
In-Progress Crafting
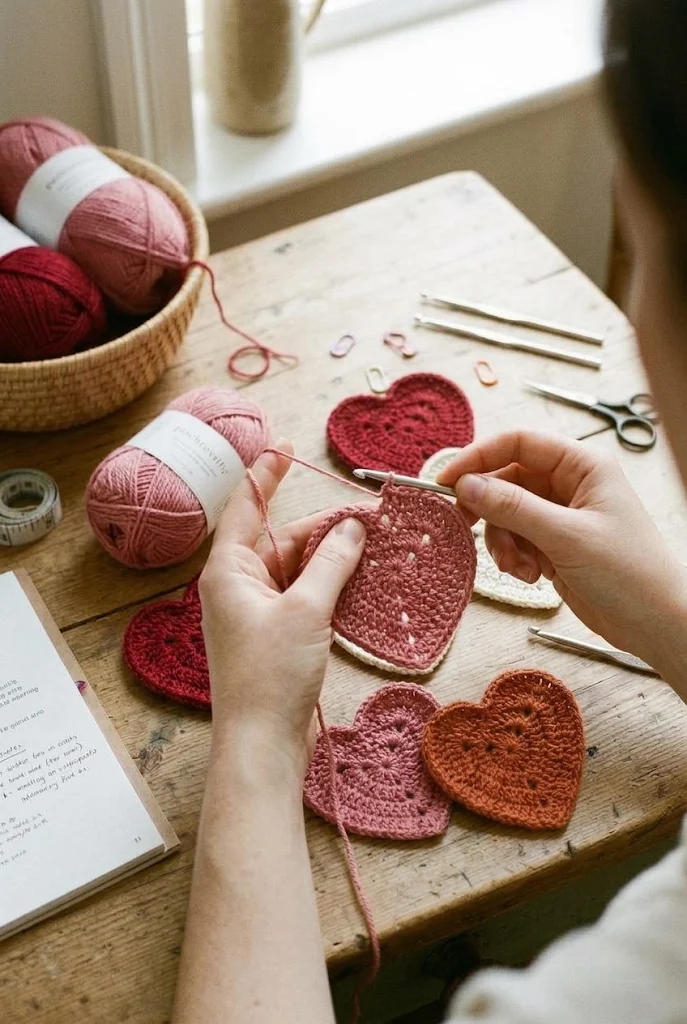
Crocheting the rounded top lobes of the heart motif with precise tension:
5. Understanding the Heart Motif Anatomy
This heart motif expands across 4 balanced rounds:
- Round 1 (The Core): A circular ring of basic stitches with directional increases that establish the top dip and bottom point.
- Round 2 (Inner Expansion): Introduces decorative diagonal eyelets that radiate outward along the lower triangular sides.
- Round 3 (Lobe Sculpting): Fan clusters of treble and double crochets build height on the upper left and upper right quadrants, defining the two rounded lobes.
- Round 4 (Border Rim): A continuous outer frame of single crochets and half double crochets that stabilizes the fabric, seals stitch edges, and ensures the coaster lays flat without curling.
6. Gauge and Finished Density
Gauge is flexible for decorative motifs, but keeping stitches flat and firm is key:
- A completed Round 2 should measure roughly 2.75 inches across at the widest point.
- If your heart curls inward like a shallow cup, your tension is too tight around the lobe curves—increase the hook size by 0.5 mm or add an extra chain in the lobe turns.
- If the outer edges ripple, loosen your slip stitch at the central dip and tighten your single crochet border.
7. Complete Step-by-Step Crochet Pattern
Round 1: Foundation & The Heart Core
- Form a Magic Ring.
- Ch 3 (counts as first dc).
- Work the following stitches directly into the ring: 3 tr, 3 dc, ch 1, 1 tr (this forms the bottom tip), ch 1, 3 dc, 3 tr.
- Ch 2, then work 1 sl st deep into the center of the ring to form the top cleft.
- Gently pull the magic ring tail to close the center hole. Do not fasten off.
Round 2: Expanding the Triangular Base & Inner Eyelets
- Ch 3 (counts as first st).
- Work 2 dc in the top of the first treble crochet from Round 1.
- Work 3 dc in the next st, and 2 dc in the following st (forming the upper curve).
- Work 1 dc in each of the next 3 dc sts down the straight side.
- Work
[1 dc, ch 2, 1 dc]into the ch-1 space before the center bottom treble stitch. - Work 1 tr into the bottom tip treble stitch, then work
[1 dc, ch 2, 1 dc]into the next ch-1 space (creating the sharp lower point). - Work 1 dc in each of the next 3 dc sts up the opposite side.
- Work 2 dc in the next st, 3 dc in the following st, and 2 dc in the last treble st.
- Ch 3, and work 1 sl st down into the center cleft slip stitch of Round 1.
Round 3: Sculpting the Broad Top Lobes
- Ch 3 (counts as dc).
- Work 1 dc in the first st.
- Work 2 dc in each of the next 4 stitches around the left lobe rim.
- Work 1 hdc in each of the next 2 stitches, then 1 sc in each of the next 5 stitches down the left edge.
- In the bottom corner
ch-2space, work[1 dc, 1 tr, ch 2, 1 tr, 1 dc]to extend the sharp base point. - Work 1 sc in each of the next 5 stitches up the right edge, then 1 hdc in each of the next 2 stitches.
- Work 2 dc in each of the next 4 stitches around the right lobe rim.
- Work 1 dc in the last stitch.
- Ch 3, and sl st deeply into the center cleft from Round 2.
Round 4: The Clean Finished Border
- Ch 1 (does not count as a stitch).
- Work 1 sc in each double crochet around the left lobe, working 2 sc into the 3 apex stitches of the lobe for a smooth curve.
- Work 1 sc in each stitch down the side until reaching the bottom corner point.
- In the bottom
ch-2point space, work[1 sc, ch 1, 1 sc]to keep the point crisp. - Work 1 sc in each stitch up the right side.
- Work 1 sc in each stitch around the right lobe, working 2 sc into the 3 apex stitches.
- To finish: sl st directly into the center top dip, fasten off leaving a 6-inch yarn tail, and use a tapestry needle to execute an invisible join on the back.
8. Construction and Reference Specifications
- Center Core (Round 1): Magic ring foundation with 14 total stitches including chains, defining top and bottom points.
- Round 2 Stitch Count: 24 total stitches plus decorative corner chain spaces, forming the heart angles.
- Round 3 Stitch Count: 36 stitches plus the bottom
ch-2point expansion. - Round 4 Perimeter: Approximately 46 to 48 single crochet stitches forming a dense, durable coaster rim.
- Finished Dimensions: 5 inches wide by 4.75 inches tall when blocked.
9. Color and Styling Variations
- Cottagecore Autumn: Earthy rust terracotta, rich forest moss green, and warm camel brown.
- Classic Valentine: Scarlet crimson red, blossom pink, and ivory white.
- Modern Minimalist: Solid ecru or unbleached natural cotton with a contrasting charcoal slip-stitch border.
- Pastel Garland: Soft mint, lavender, peach, and baby pink hearts strung along a long chained cord for nursery wall decor.
10. Assembly, Blocking, and Finishing Touches
- Weaving In Tails: Thread the starting center tail through the dense posts of Round 1 in circular opposing directions to lock the ring permanently. Weave the outer border tail down into the back of Round 4.
- Blocking for Crisp Lines: Wet block or steam block the hearts. Place rust-proof pins into the two top lobe arches, one pin pulling deep into the center cleft, and one pin anchoring the bottom tip. Allow to dry completely flat.
- Joining for Garlands (Optional): Crochet a continuous chain of 30 stitches, slip stitch through the top right lobe of a heart, chain 15 stitches, slip stitch through the next heart, and repeat to create a charming wall bunting.
Finished Keepsake Display
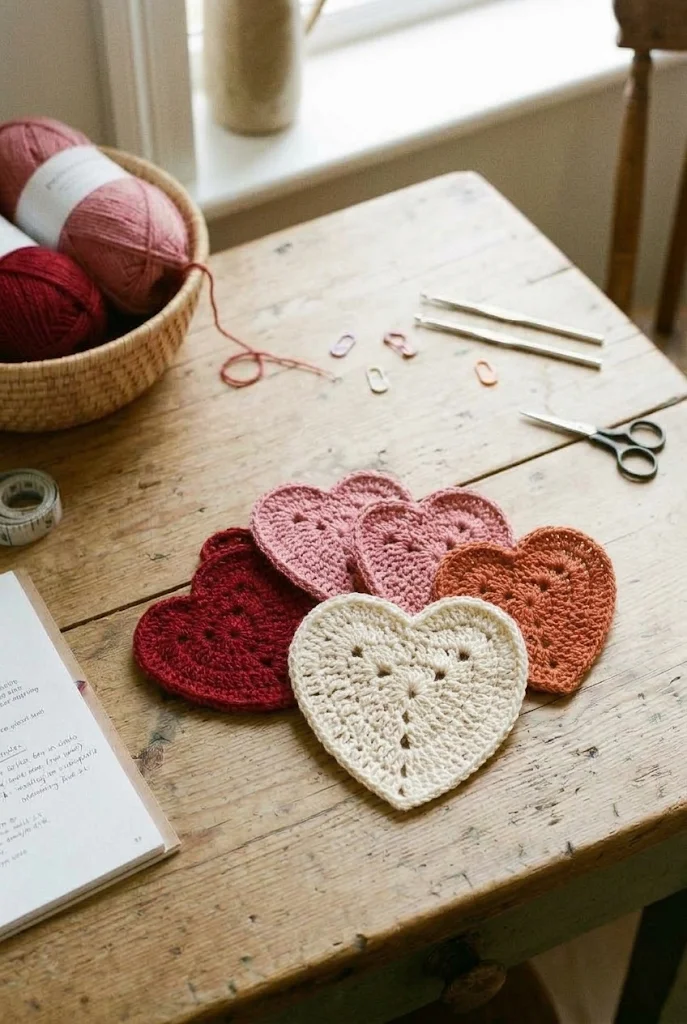
A neat stack of finished crochet heart coasters fanned out on a wooden craft surface:
11. Troubleshooting Common Problems
- The center cleft looks shallow: Make sure your slip stitch at the end of each round is worked deep into the center ring or preceding cleft space, rather than into the top loops of adjacent stitches.
- The bottom point is blunt or rounded: Ensure you place both a treble crochet and a
ch 2space at the exact base stitch in Round 3, and pin that point firmly when blocking. - The heart curls up at the edges: Your outer border stitches are too tight. Switch to a hook 0.5 mm larger for Round 4, or add an extra increase stitch at the apex of each lobe curve.
- The motif ruffles along the sides: You may have placed too many single crochets down the straight edges. Stick to 1 sc per stitch along the side slopes.
12. Frequently Asked Questions
1. Is cotton yarn necessary, or can I use acrylic?
Cotton is ideal for mug rugs and hot beverage coasters because it does not melt under hot mugs and absorbs moisture. Acrylic yarn works wonderfully for wall garlands, clothing patches, or decorative bunting.
2. How do I make these heart motifs larger?
To make a larger placemat or centerpiece, use bulky Category 5 yarn with a 6.0 mm hook, or repeat Round 3 once more by adding 2 dc increases around each lobe before completing the border.
3. Can I wash these coasters in a washing machine?
Yes. Place them in a mesh wash bag and machine wash in cold water on a delicate cycle, then reshape with your fingers and lay flat to dry.
4. How do I prevent the magic ring from unraveling?
After pulling the starting ring tight, thread the tail onto a tapestry needle, tie a small discreet knot around an inner post, and weave back and forth through the stitches in three different directions.
This classic crochet heart motif pattern balances elegant geometry with heartwarming rustic charm. Whether worked in soft pastels or deep earthy hues, these versatile textured hearts bring cozy handcrafted beauty to any home.
Leave a Comment