
ADVERTISEMENT
A miniature crochet baby chick is a heartwarming project that captures the lively spirit of spring. With its round silhouette, bright sunny body, tiny orange beak, and delicate little wings, this motif makes an adorable desk companion, keychain charm, Easter basket filler, or nursery accent.
This detailed, beginner-friendly guide walks you through every single round, stitch count, shaping method, and finishing touch without relying on complex tables.
Hero Preview
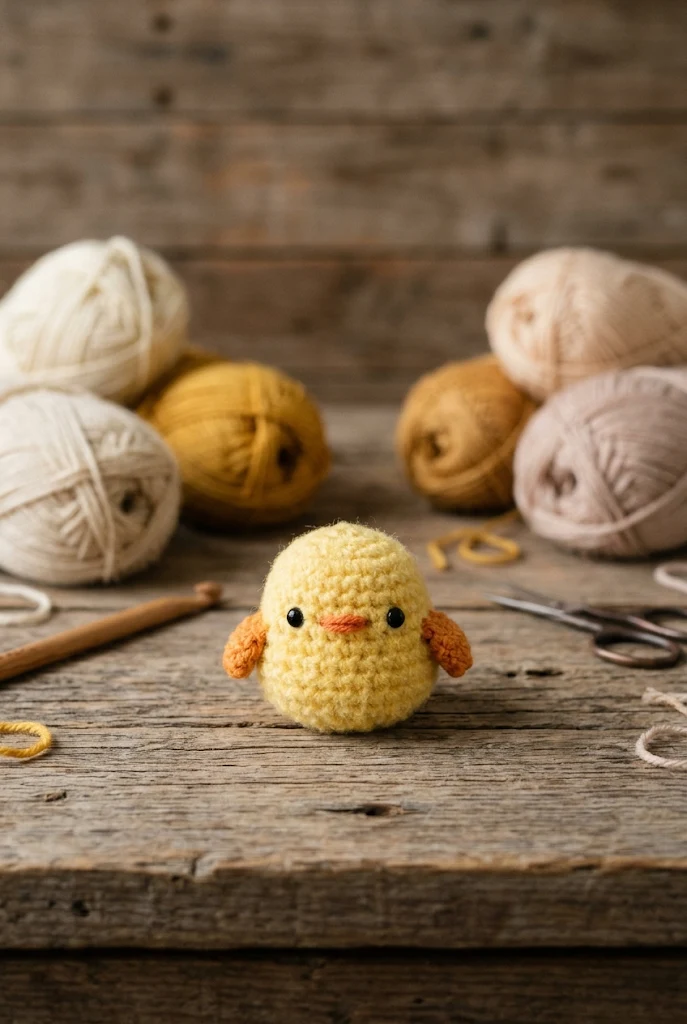
1. Project Overview
All measurements and times are approximate:
- Skill level: Beginner
- Completion time: 1 to 2 hours
- Finished size: Approximately 2.5 to 3 inches tall
- Construction: Worked mainly in continuous spiral rounds without joining with slip stitches, minimizing visible seams
- Main stitches: Magic ring, chain, slip stitch, single crochet, increase, and invisible decrease
- Suggested uses: Keychains, backpack charms, Easter gifts, seasonal wreaths, nursery mobiles, and decorative bowl fillers
Your finished chick’s dimensions will vary depending on your choice of yarn weight, hook size, and stitch tension.
2. Materials and Supplies
- Yarn:
- Main Color: Light yellow or lemon yellow medium-weight (worsted/Category 4) or DK yarn (approx. 25 g)
- Contrast Color: Bright orange yarn for beak and feet (approx. 5 g)
- Optional Accent: Pale pink embroidery floss or soft blush powder for rosy cheeks
- Crochet hook: 3.0 mm (US C/2 or D/3) or 3.25 mm for a firm stitch density that keeps fiberfill enclosed
- Safety eyes: One pair of 6 mm or 8 mm black plastic safety eyes with secure backings
- Stuffing: Polyester fiberfill
- Tapestry needle: Blunt yarn needle for sewing the beak and hiding tail ends
- Stitch markers: Indispensable for tracking the first stitch of continuous rounds
- Scissors: Small craft snips for precise thread cutting
3. US Crochet Abbreviations & Stitch Meanings
- ch: Chain stitch
- sl st: Slip stitch
- sc: Single crochet
- inc: Single crochet increase (work 2 single crochets into the same stitch)
- dec: Invisible single crochet decrease (pick up front loops of next 2 stitches and single crochet them together)
- st(s): Stitch or stitches
- MR: Magic ring
- FO: Fasten off
Special Technique: The Invisible Decrease
Insert the hook into the front loop only of the first stitch, then immediately insert it into the front loop only of the adjacent stitch. Yarn over, draw through both front loops, yarn over again, and pull through the remaining two loops. This technique avoids bumps and keeps the fabric uniform.
4. Skills to Know Before Starting
- Continuous Spiral Crochet: Do not close rounds with a slip stitch or chain 1 at the end of each round; simply place the first stitch of the next round directly into the next stitch. Always keep your stitch marker in the first stitch.
- Yarn Under Technique (Optional): Pulling the yarn under the hook rather than over produces neat, cross-shaped stitches that are tighter and ideal for amigurumi.
- Positioning Safety Eyes: Always install washer backs firmly before closing and stuffing the piece, as they cannot be inserted once the body is sewn shut.
5. Understanding the Chick Anatomy
The baby chick is built using simple geometric components:
- Body & Head: Crocheted seamlessly as one single rounded, egg-shaped piece from top to bottom.
- Wings (Make 2): Tiny flat tear-shaped flaps sewn onto the sides to give a tucked-wing look.
- Beak: A compact cone or triangle positioned right between the eyes.
- Feet (Make 2): Subtle little textured pads attached to the underside so the chick sits upright on flat surfaces.
In-Progress Crafting
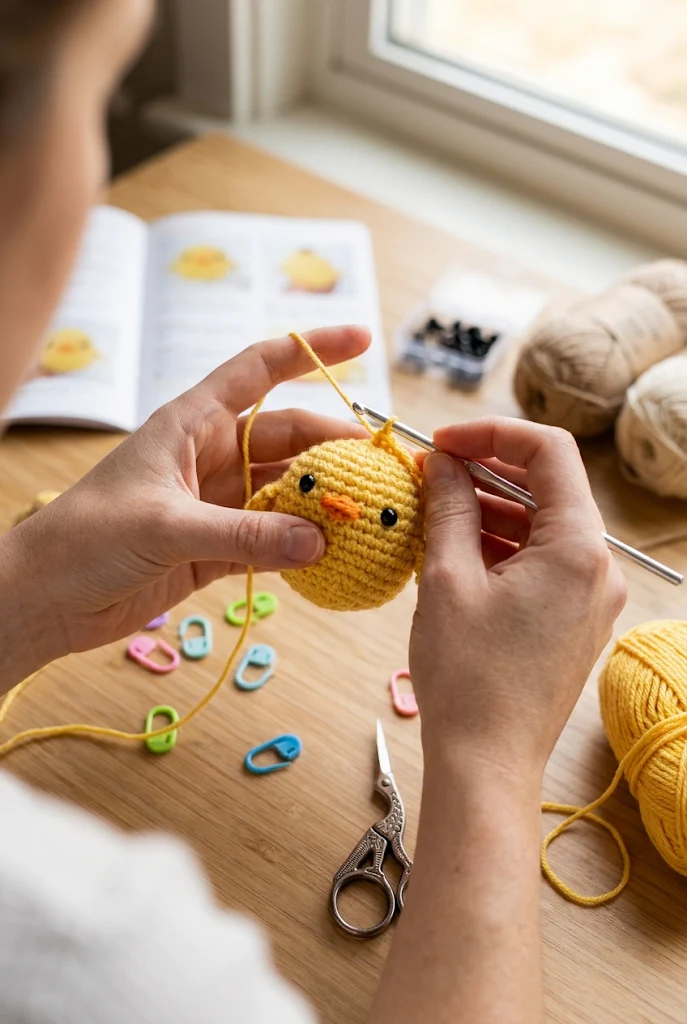
6. Gauge and Finished Density
Gauge is flexible for toys, but keeping your stitches compact is essential to prevent stuffing from poking out:
- A flat circle of 3 rounds (18 sts) should measure roughly 1.25 inches across.
- If your stitches appear loose with visible holes between posts, drop down half a hook size (e.g., from 3.5 mm to 3.0 mm).
7. Complete Step-by-Step Crochet Pattern
Part A: Head & Body (Worked as One Piece in Yellow Yarn)
- Round 1: Make a MR, work 6 sc into the ring [6 sts].
- Round 2: Work 2 sc in each st around (inc in every st) [12 sts].
- Round 3: Work (1 sc, inc) 6 times around [18 sts].
- Round 4: Work (2 sc, inc) 6 times around [24 sts].
- Round 5: Work (3 sc, inc) 6 times around [30 sts].
- Rounds 6–10 (5 rounds): Work 1 sc in each st around [30 sts].
- Eye Placement: Insert safety eyes between Rounds 8 and 9, spaced roughly 5 to 6 visible stitches apart. Secure the safety backings firmly inside.
- Round 11: Work (4 sc, inc) 6 times around [36 sts]. (This increase forms the plump lower belly).
- Rounds 12–15 (4 rounds): Work 1 sc in each st around [36 sts].
- Round 16: Work (4 sc, dec) 6 times around [30 sts].
- Round 17: Work (3 sc, dec) 6 times around [24 sts].
- Begin stuffing: Pack the head and body firmly with polyester fiberfill, shaping it into a smooth egg shape.
- Round 18: Work (2 sc, dec) 6 times around [18 sts].
- Round 19: Work (1 sc, dec) 6 times around [12 sts].
- Add final stuffing: Top off the base so the bottom is plump and rounded.
- Round 20: Work 6 dec around [6 sts].
- Fasten off, leaving an 8-inch yarn tail. Thread the tail onto your tapestry needle, weave through the front loops of all 6 remaining stitches, pull snug to close the base, and bury the tail inside the body.
Part B: Wings (Make 2 in Yellow Yarn)
- Round 1: Make a MR, work 6 sc into the ring [6 sts].
- Round 2: Work (1 sc, inc) 3 times around [9 sts].
- Round 3: Work 1 sc in each st around [9 sts].
- Round 4: Work (1 sc, dec) 3 times around [6 sts].
- Do not stuff the wings. Flatten the opening edge and work 3 sc through both opposing layers across the top to seal it shut.
- Fasten off, leaving a 10-inch yarn tail for sewing.
Part C: Tiny Beak (Orange Yarn)
- Method 1 (Crocheted Cone):
- Make a MR, work 4 sc into the ring [4 sts].
- Round 2: Work (1 sc, inc) 2 times [6 sts].
- Fasten off with a tail for sewing.
- Method 2 (Embroidered Diamond):
- If you prefer a flatter beak, skip crocheting and simply stitch 4 to 5 horizontal satin stitches across Round 9 centered directly between the eyes using orange yarn.
Part D: Feet (Make 2 in Orange Yarn)
- Row 1: Chain 4.
- Row 2: Starting in the 2nd chain from hook, slip stitch in each of the 3 chains. Chain 3, sl st back into the first chain base, chain 3, and sl st again into the same starting base (creating 3 tiny joined toes).
- Fasten off, leaving a sewing tail. Repeat for the second foot.
8. Construction and Reference Specifications
Here is the detailed part breakdown for your quick reference:
- Head & Body: 1 piece, 20 continuous rounds, plump egg shape, stuffed firmly.
- Wings: 2 pieces, 4 rounds each, flat and unstuffed, attached to Rounds 10–12 at the sides.
- Beak: 1 piece, 2 rounds (or satin embroidered), centered between eyes at Round 9.
- Feet: 2 pieces, 3-toed chained pads, sewn onto Round 18 on the underside.
- Cheeks (Optional): Light pink blush applied with a soft makeup brush directly beneath the eyes.
9. Color and Character Variations
- Classic Easter Chick: Lemon yellow body with bright carrot-orange beak and feet.
- Pastel Spring Chick: Buttercream cream body with peach beak and blush pink ear tufts.
- Speckled Farm Chick: Oatmeal or heathered beige body with a darker brown beak.
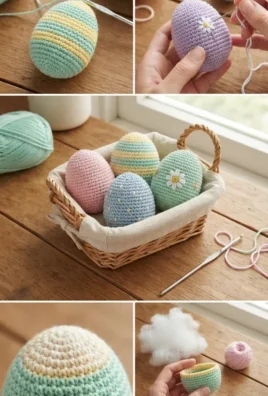
- Hatching Chick: Crochet a simple white scalloped half-dome to fit over the base as an eggshell.
10. Assembly and Finishing Touches
- Beak Attachment: Center the beak precisely between the eyes along Round 9. Use pins to hold it in place and whipstitch the perimeter securely.
- Wing Placement: Pin the wings symmetrically on either side of the body along Rounds 10 to 12, slanting them slightly backward. Sew only along the top flat seam so the bottom of the wings can flutter naturally.
- Foot Attachment: Flip the chick upside down and pin both little orange feet near the front of the base around Round 18, spaced about 3 stitches apart. Stitch down securely so the chick balances comfortably when placed on a desk.
- Blush Accents: Lightly swirl a dry cotton swab in powdered pink blush or chalk pastel and dab it gently just under each eye to give your chick a sweet expression.
Finished Keepsake Display
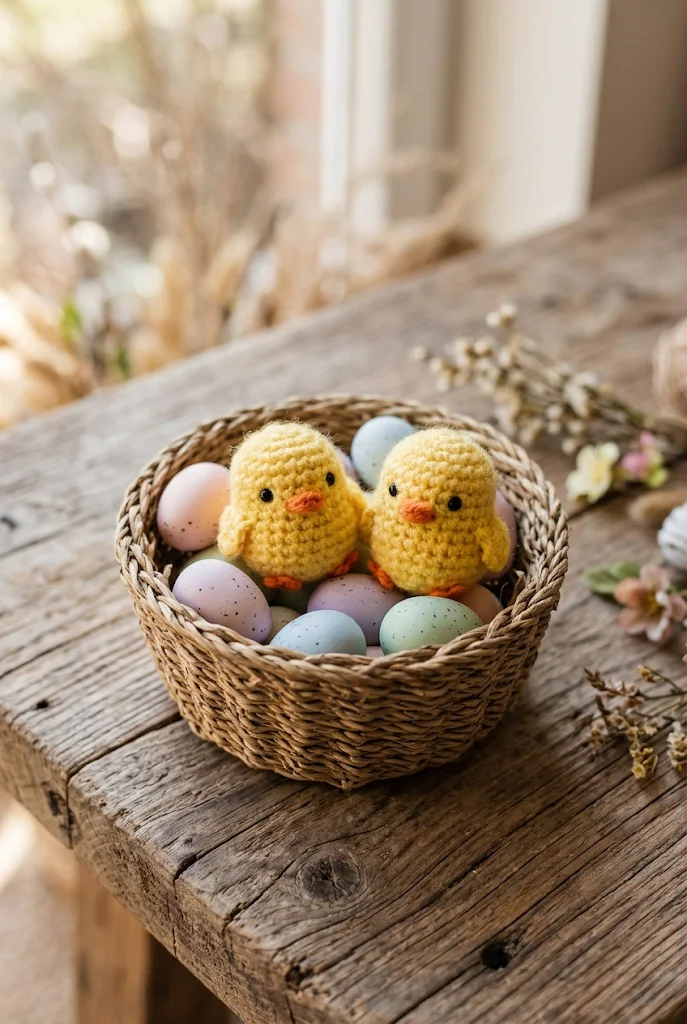
11. Troubleshooting Common Problems
- The chick leans forward or tips over: The base wasn’t packed evenly, or the feet were sewn too far back. Ensure the bottom fiberfill is pressed flat, and re-pin the feet closer to the front edge to serve as stabilizing kickstands.
- Stuffing peeks through the yellow stitches: Your hook size may be too large for your yarn weight. Use a 2.75 mm or 3.0 mm hook, or switch to the yarn-under technique for tighter stitch walls.
- The head has visible seam lines: Make sure you are working in continuous spirals without chaining 1 or joining with slip stitches at the end of rounds.
- The beak looks crooked: Always place safety pins through the beak and inspect your chick from straight ahead at eye level before making permanent stitches.
12. Frequently Asked Questions
1. Is this baby chick pattern suitable for total beginners?
Yes. It uses only fundamental single crochet stitches, basic increases, and decreases. Because the head and body are worked as a single piece, you have very few parts to assemble.
2. Can I use plush or chenille blanket yarn for this pattern?
Absolutely. Using chunky chenille yarn with a 5.0 mm or 6.0 mm hook will yield a squishy, jumbo palm-sized chick (approx. 6 inches tall). Just be sure to upgrade your safety eyes to 14 mm or 16 mm.
3. Are safety eyes child-safe for infants?
Plastic safety eyes pose a choking hazard for babies and toddlers under 3 years old. For baby-safe toys, embroider simple sleeping crescents or French knots with black embroidery floss instead.
4. How can I turn this into a hanging keychain?
Before fastening off the head or using an extra strand of yellow yarn, thread a loop through the top center of Round 1, knot it securely inside, and attach a metal split ring or lobster clasp.
This cheerful crochet baby chick is a quick, uplifting project that brings cozy handmade warmth to any space. Whether made in sunny yellow or soft spring pastels, it makes a delightful gift for crafters and collectors alike.
Leave a Comment